Thursday, November 17, 2011

Family Link Party!!!

So were you inspired to create something fantastic this week?
All of the projects were great-I love to see what the week unveils...
It started here with my Family Rules board:


...fun and easy.
Krystal jumped in next with an amazing little family frame:

I love the quote! And too, everything came from the craft store-no tools needed for this project!
Melinda shared a favorite song and quote all in one with this fun sign:

I've seen these all over my local craft stores lately, Melinda made it super easy to make your own!
And finishing us off for the week, Candace and Nicole shared a great way to display some fun family photos:

And they too gave you the (almost) no tool way to finish this great gift idea project.
So much fun!
But now it's your turn. We want to see how you are celebrating your family at the start of this super-fab holiday season.

Link up your projects that show your idea of Family, we can't wait to see them!
Link will be open until next Friday...
Happy Crafting-
Wendy


Family Picture Block

Hi everyone!  It's Candace and Nicole from Crafty Sisters!
We were so excited to craft with this month's theme, FAMILY! 
We love any excuse to display family pictures, and this project is simple to make!
A couple of years ago, Nicole cut out a bunch of these family letters on blocks for her friend Celeste.  This week she is cutting more out for her friend for quick and easy Christmas presents that anyone would love.
We always wanted to make one for ourselves, and this month's theme, "family" was a perfect excuse. 
We cut our letters about  3-4" ourselves with a scroll saw,
 but you could easily pick up unfinished wood letters in many of the craft stores. 
You will need letters, 1/4"dowel, mini clothes pin clips, and a 2x4 cut at 12 inches.
We arranged the letters how we wanted and cut the dowels accordingly,
approximately at 1 1/2, 2 and 3" increments.
Cut your paper and Mod Podge onto the front of the 2x4.
You can really personalize this any way you want with ribbons, flowers
and inspirational quotes.
Drill holes in the 2x4 and letters  to fit the dowel, then tap and glue into the 2x4 and letters. 
Make sure you tap gently or you'll split your letters.
Attach your clips with glue, and place your pictures on!
There you go! 
 A great way to display your favorite and meaningful family photos!
Thanks for the great theme Wendy!

Wednesday, November 16, 2011

ALL YOU NEED IS LOVE

Hey all!  It's Melinda from over at Under My Umbrella.  I love the theme of a "family" project.  They are all over my house.  I saw the particular project I created in a magazine and knew at some point I needed to make one.  I sing the song all the time in my house making it something my family knows well.  If you have teenagers in your house you might too :)  I'm also a big Beatles fan!

This project is a breeze!  I know there are tutorial all over online but I will give you my own version.   Grab some 2x4's.  I cut mine 18 inches long and sanded them.


It kinda hurt to paint over this beautiful wood.  I'm still deciding if I should have used the wood to my advantage!   I painted the 2x4s black and let them dry.


I have a vinyl machine so I designed something and applied it to the wood.  I then spray painted over the lettering with spray paint.


After the spray paint dries.   Take off the lettering and sand.  I also glued my 2x4s together with Gorilla glue.


My daughter informed me that you need more than love to live.  She then listed food and water.  I'm well aware!  I just love the saying and think the world would be a better place if we all could love a little more!!


Tuesday, November 15, 2011

Family Motto Picture Frame

Hello! Its Krystal from Sassy Sanctuary here today!  I'm so excited to show you guys my take on Wendy's adorable Family Rules Sign.

To be honest, I was a little nervous about this months project because we are in the process of moving to another state and my husband has packed up all the tools and moved them to our new house!  So I knew that whatever I made, I was going to have to take some help from the craft store. There is nothing wrong in that right?!

So I went to one of my favorite local stores.  (It's called Porter's if any of you have one near you) and found a 12x12 unfinished MDF frame that had a 4x4 opening.  I grabbed that and went to see if I could find some scrapbook paper inspiration and found one of those 5x7 paper packs in adorable prints.  Then a light bulb went off in my head! 

I wanted to make 4x4 compartments and use each square to place a quote.  Then thanks to pinterest I found the PERFECT family motto to put in my frame. 

Here is the final result.


Ahhhh!!!! I love it!  Seriously this is one of my favorite things I have ever made! (I swear I say that about every WYLTC project, but this time I mean it!)

So, do you want to make your own?  This is how I did it.


A- First get a 12x12 frame with a 4x4 opening.
B- Paint it a base color that goes with all your papers
C- Cut your papers to 4x4 squares and arrange them how you would like them on your frame.
D- Modge Podge the paper on.  I found it best to do the corners first and then the middle squares.
E-  Once its good and dry, cut vinyl to make a stencil for your text. (if you don't have a craft cutter, you could use Wendy's transfer method too!)
F-  Paint your text.  I found it turned out better if I let my paint dry to the touch before removing my stencil.

And that's it!

Oh.... but you may have noticed that my frame has a good amount of distressing.


Funny story about that....

I walked away from this project to use the bathroom after doing the text in one square.... and left it and my paint sitting on the counter. (Do you see where this is going?)  When I came back my 3 year old daughter had painted brown paint all over it!

I screamed.

Then I got a rag and scrubbed the thing off.  Luckily the modge podge sealed it pretty well and most of the paint came off... Except for in a few spots where I scrubbed through the paper!

Then I cried.

Once I regained my composure I decided to just go with it.  I strategically scrapped up the surface of the paper (just using my fingernails) and rubbed brown paint into the scratches.   I actually LOVE the way it looks. So yay for happy accidents!

So anyway... thats it.  My family motto picture frame.


I hope you love it as much as I do!
I can't wait to see what everyone else does!


Monday, November 14, 2011

November...It's all about FAMILY!!!

Holy cow! Another month has flown by and it's time to get crafting again.
With all the excitement of the upcoming holiday season my thoughts are turned directly towards my family.
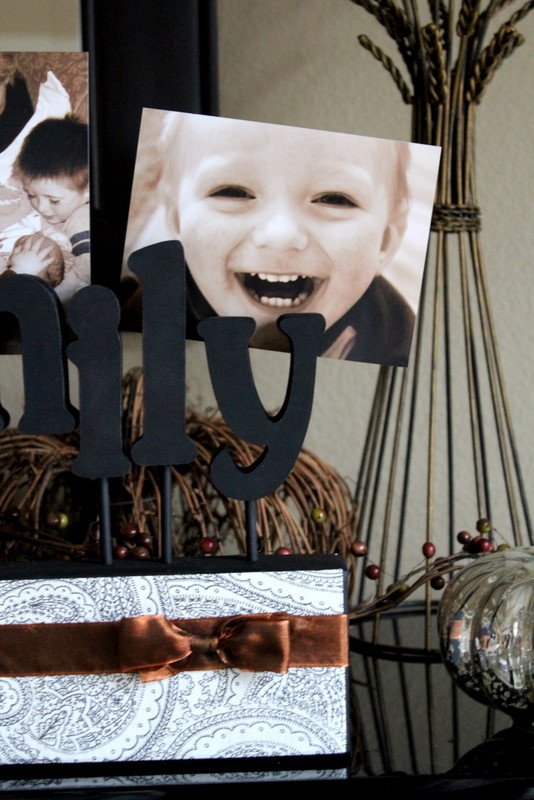
So what better theme for this month's project than that...FAMILY!


Not so super original-these are so popular lately! But it fit the theme and well, I wanted one so this is what you get.
Overall, it wasn't hard but it was a little time consuming. In other words, a great project for the upcoming Thanksgiving break.

Here's what I used:

1/2 inch MDF cut to 12 inches wide by 24 inches long
Valspar Spray Paint in Mediterranean Blue
Ceramcoat acrylic paint in Antique White
Paint brushes
Sand Paper
paper and pencils

To start I painted the board, a few quick coats of beautiful blue and then set it aside to dry.

Next I made a list of "Rules" that I wanted on my board and then I played around on my computer with fonts and sizes until I had something I liked.

It took 3 pages set on landscape to fill the board. You can print off the pages here if you wish...


I then taped the pages together omitting the margins so that everything lined up nicely. Then I used the old-school graphite transfer method to get my rules onto the board-you know the one. Rub your pencil all over the back side of the image, flip it back over-right side up. Tape it into place on the base board and then trace the outline of the image. The image is then transferred onto the wood leaving you a great pattern to follow.

From there started the time consuming part...filling in all the letters! I used the acrylic paint, thinned out just a bit with water and a fine detail paint brush. To get the color level I wanted I repeated this process once the first coat was dry. 


Sand paper and distressing was last.
I hit the edges hard with the power sander and then went over the lettering with a fine grit sand paper to soften up the lines a bit.
 {I'm still debating with myself if I should add a layer of stain or not.}

But there you go! Not to bad right? You could do it too!
I love it, my friends love it, and more than that my kiddos read it and talk about what it says. Maybe one of these days they'll put it all into action!

An after thought to share...
If I were to do this again I would use 1 inch pine instead of the MDF just so that I could get a little more character from the wood, kind of like this:

Love that you can see the grain and the knots! Oh well, next time right?
Until then, have fun creating.
I hope you'll check back in over the week to see what the other WYLTC gals have to share when it comes to FAMILY for them. And don't forget the linky party opens on Friday, we want to see how you celebrate FAMILY too...


Happy Crafting!